Removing image background with rembg library
Removing the image background was a pretty simple but time-consuming task for designers. With Python, you can write the script, and remove the background for images in a few minutes and it will work very fast. With this script, you can process hundreds of images per hour.
In this article, I will show you how to make this code and what problems you can face there.
Removing image background
We have a lovely duck image where we need to remove the background.
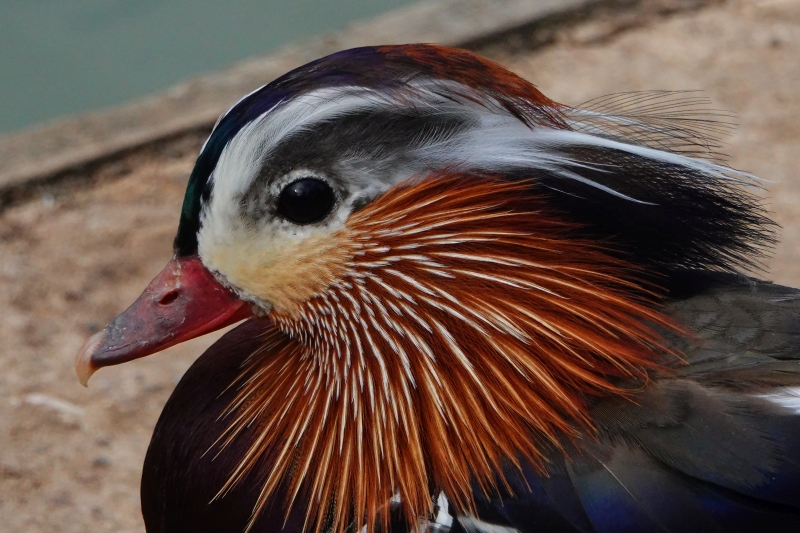 Biodiversity for sharing this lovely image where we will remove the background."
title="Mandarin duck (Aix galericulata)">
Biodiversity for sharing this lovely image where we will remove the background."
title="Mandarin duck (Aix galericulata)">
Mandarine duck near pond. Thank you to Biodiversity for sharing this lovely image where we will remove the background.
Original image: 800 x 533
This is a very common task and we need to know how to do it easily, so, let's do it!
Python code for background removal
We have two different ways to work with this task
Transparent background
We can remove the background and make everything transparent outside our object.
First of all, we need to load libraries.
import rembg
import cv2
rembg - AI library for background removing. On the first run, it will upload all necessary trained models for background removal.
input = 'duck.jpg' # input file
output = 'no_bg_duck.jpg' # output file
img = cv2.imread(input) # reading image file
img_out = rembg.remove(img) # removing background
That it. img_out already an array with removed background, which we need to save:
cv2.imwrite(output, img_out)
This image of Mandarine duck have removed background
Original image: 800 x 533
If you actually need to have removed (transparent) background you need to save it as a PNG file format. Otherwise, the background will be black
Make a specific colour
It is possible to make any background you like. Unfortunately, with rembg you can't do this and it is necessary to use PIL library for this.
import PILThen, when we make a new image with the removed background as an array
input = 'duck.jpg'
output = 'no_bg_duck.jpg'
img = cv2.imread(input)
img_out = rembg.remove(img)
Then, we need to do the following steps: convert this image to a PIL image, create a new background image of the same size with the desired colour or picture (new background) and then add our image using the mask of our image. And finally, save it!
out_pil = PIL.Image.fromarray(img_out)
bgr = PIL.Image.new('RGB', out_pil.size, (255, 255, 255))
bgr.paste(out_pil, (0,0), out_pil)
bgr.save('w_'+output)
It is highly likely, that the image will have strange colours

The image with our substituted background, but the colours are in different orders. This is the BGR colour scheme.
Original image: 800 x 533
As you can see, the background is perfect, but the colour scheme is wrong, so we need to convert it to a proper RGB.
To do so, we need to split our image into colour layers, and then merge them back in a different order and save it again.
r, g, b = bgr.split()
bgr = PIL.Image.merge('RGB', (b, g, r))
bgr.save('w1_'+output)
Mandarin duck with a new white background.
Original image: 800 x 533
This is our video with a more detailed explanation:
Published: 2023-09-16 03:24:10
Updated: 2023-09-16 03:58:38